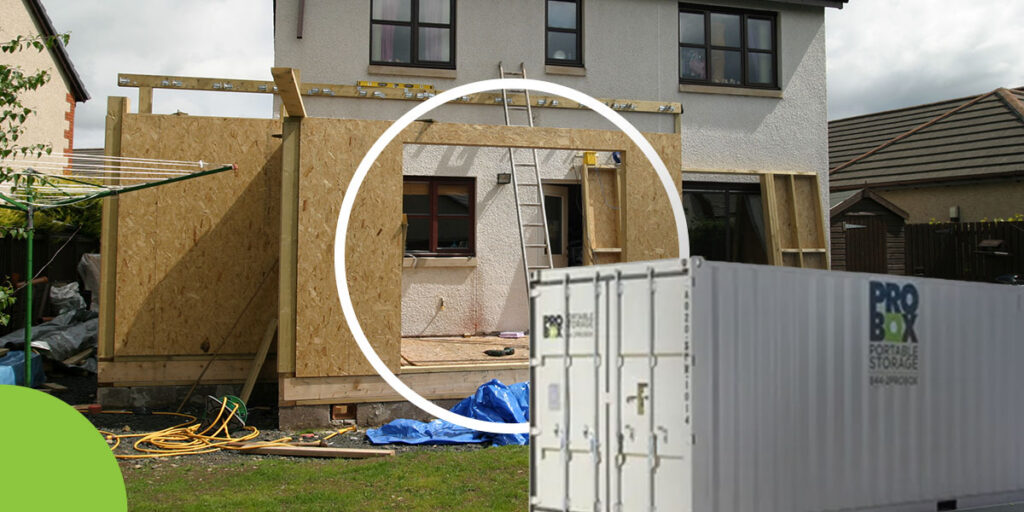
Life can quickly get cluttered during a home remodel. Dust collects on every surface, and it can be easy to misplace the items you use daily. A storage container can be the perfect solution, keeping your belongings close at hand and your home clean. Use these tips to maximize your container space for a smooth remodeling project.
Maximize Storage Container Space Efficiently
Here are some tips for decluttering, laying out a tidy container and optimizing storage space during a home renovation.
1. Declutter Before You Pack
A home remodel is the ideal time to reevaluate your relationships with your possessions. Before moving anything, go through your home room by room and put anything you no longer need, use or love into a donation box. Once you’ve freed up valuable storage space, you can start organizing the remaining items based on how often you use them. For example, you might place your coffeepot in a “daily” box, cleaning supplies in a “weekly” one and seasonal decor in a “long-term” container. Then, think about placement. Follow the “last-in, first-out” rule to ensure you can easily access the necessities.
2. Map Your Container Layout
Next, lay out how you’ll arrange everything inside the container. Instead of stacking boxes haphazardly against the walls, create a center aisle or a U-shaped layout that leaves you with plenty of room to walk inside. Designate where each item belongs depending on how often you use it.
- Zone A: Put this area near the front of your storage container, as it’s for high-priority items you use every day. It’s the best spot to put your daily essentials and remodeling gear. For instance, in a clear and labeled bin, you might include PPE, daily hand tools and extension cords, so you don’t have to spend time searching for them in your home or the back of your container.
- Zone B: This area in the middle of your storage container includes your weekly-use items. Place items in Zone B that you only need occasionally, such as extra linens or specific tools.
- Zone C: This area is in the back of your storage container. It includes items you won’t touch until you complete your renovation, such as heavy furniture.
3. Pack to Maximize Space
Storing items vertically is a wise strategy that frees room on the floor. Put bulky appliances and furniture on the floor, then stack lighter boxes to the ceiling. Choose a storage container with doors that allow one-handed entry so you can grab items as quickly as possible.
Put items in Zone A in clear plastic bins, so you can see inside without opening them. Use uniform plastic containers in Zone C for stability that prevents items from falling. Lastly, tape a master inventory list to the inside of the container door. This “cheat sheet” will tell you which zone holds which box.
Storage Container Organization Tips for Home Remodels
Many challenges can arise when you organize furniture. Here are three tips to overcome them.
- Wrap fragile items: Protecting furniture and fragile items is crucial when organizing your storage container. Wrap each piece in a blanket to shield it from scratches, dust and dents.
- Disassemble furniture: Remove table legs to avoid damage and save space. Store the legs in a labeled bag and tape it to the underside of the table. You can do the same for screws, bolts and hardware, taping them to the correct furniture to make sure nothing gets lost.
- Keep items off the floor: Stacking your boxes and furniture on top of wooden pallets, bricks or sturdy boards can protect sensitive items from condensation, moisture or cold that would otherwise seep through the metal floor.

How to Select a Storage Container
Choose the correct storage container for your home remodel — one that’s durable enough to protect your belongings while offering plenty of space. Here are some factors to consider.
Size
A 20′ container is often the ideal size for remodels, giving you that Goldilocks balance of not overfilling or wasting space. However, if you’re unsure, you can ask your provider for a recommendation based on what you plan to store.
Delivery and Site Requirements
With temporary storage, your container arrives at your property and gets picked up again when your rental period ends. You’ll need to leave plenty of room for the delivery truck and clear an area to place the container to avoid delays and ensure safety.
Container Condition
You need a storage container that protects your items from theft and the elements. Before renting, make sure the container is solid steel with watertight seals around the doors and edges. Choose a wind- and watertight container to combat humidity and prevent mold and warping.
Security
Security is crucial during a remodel because you’ll need a place to store new fixtures such as tiles and lights before installing them. Since standard padlocks can be vulnerable, Pro Box Portable Storage offers the patented Pro Vault Locking System®. You can choose this system as an add-on to your rental and confidently store your valuable items, knowing only you have access.

Get Organized With a Pro Box Portable Storage Container Today
Renting a storage container and following these tips will save time, reduce stress and keep your remodel moving smoothly. Don’t let disorganization slow you down. Choose Pro Box Portable Storage for high-quality storage containers and expert service and support. We deliver clean, secure storage containers directly to your home.
We can answer all your questions about container size, site prep and rental terms, simplifying obstacles so you can focus on your project. Ready to start your remodel on a solid footing? Contact us today to get a quote or schedule a delivery.